

Andy Gaby Ruqayya

The three members demonstrating their project.
Virtual Pinky Promise
Project team member(s): Andy Meislin, Gabriella Godines, and Ruqayya Toorawa
Our group wanted to explore the possibilities of using haptic devices to simulate extremely personal interactions. Therefore, we manipulated our haptic devices to make a virtual pinky-promise/pinky-swear simulator. We wanted two people to be able to interact with two different interfaces but feel the effect of the others actions. We were able to successfully create a teleoperation system that allows two people to shake and receive haptic feedback in order to simulate the feeling of a pinky-promise.
On this page... (hide)
Introduction
When we first heard that we had the option of creating any type of haptic device, we really wanted to create a haptic device that would simulate something from real life. We thought of the creating haptic devices to simulate hugs or hand shakes, but ultimately realized that this would be impossible with our resources. So we narrowed our options down and came up with the idea for a virtual pinky promise. We wanted to be able to create the interaction of swinging someones pinky, as if promising, without actually touching a human.
Background
While there has been a plethora of research and design done in the field of haptics, most scientists and engineers focus on things that are much less trivial than pinky promises. However much of the research necessary to produce even our simple projects came from places like Allison Okamura's lab: http://charm.stanford.edu, Stanford's Robotics Lab: http://cs.stanford.edu/groups/manips/research/haptic-interaction , and other labs across the world. Also, much of the code we used was from the original haptics project and can be found at: http://hapkit.stanford.edu/.
Design
Hardware design
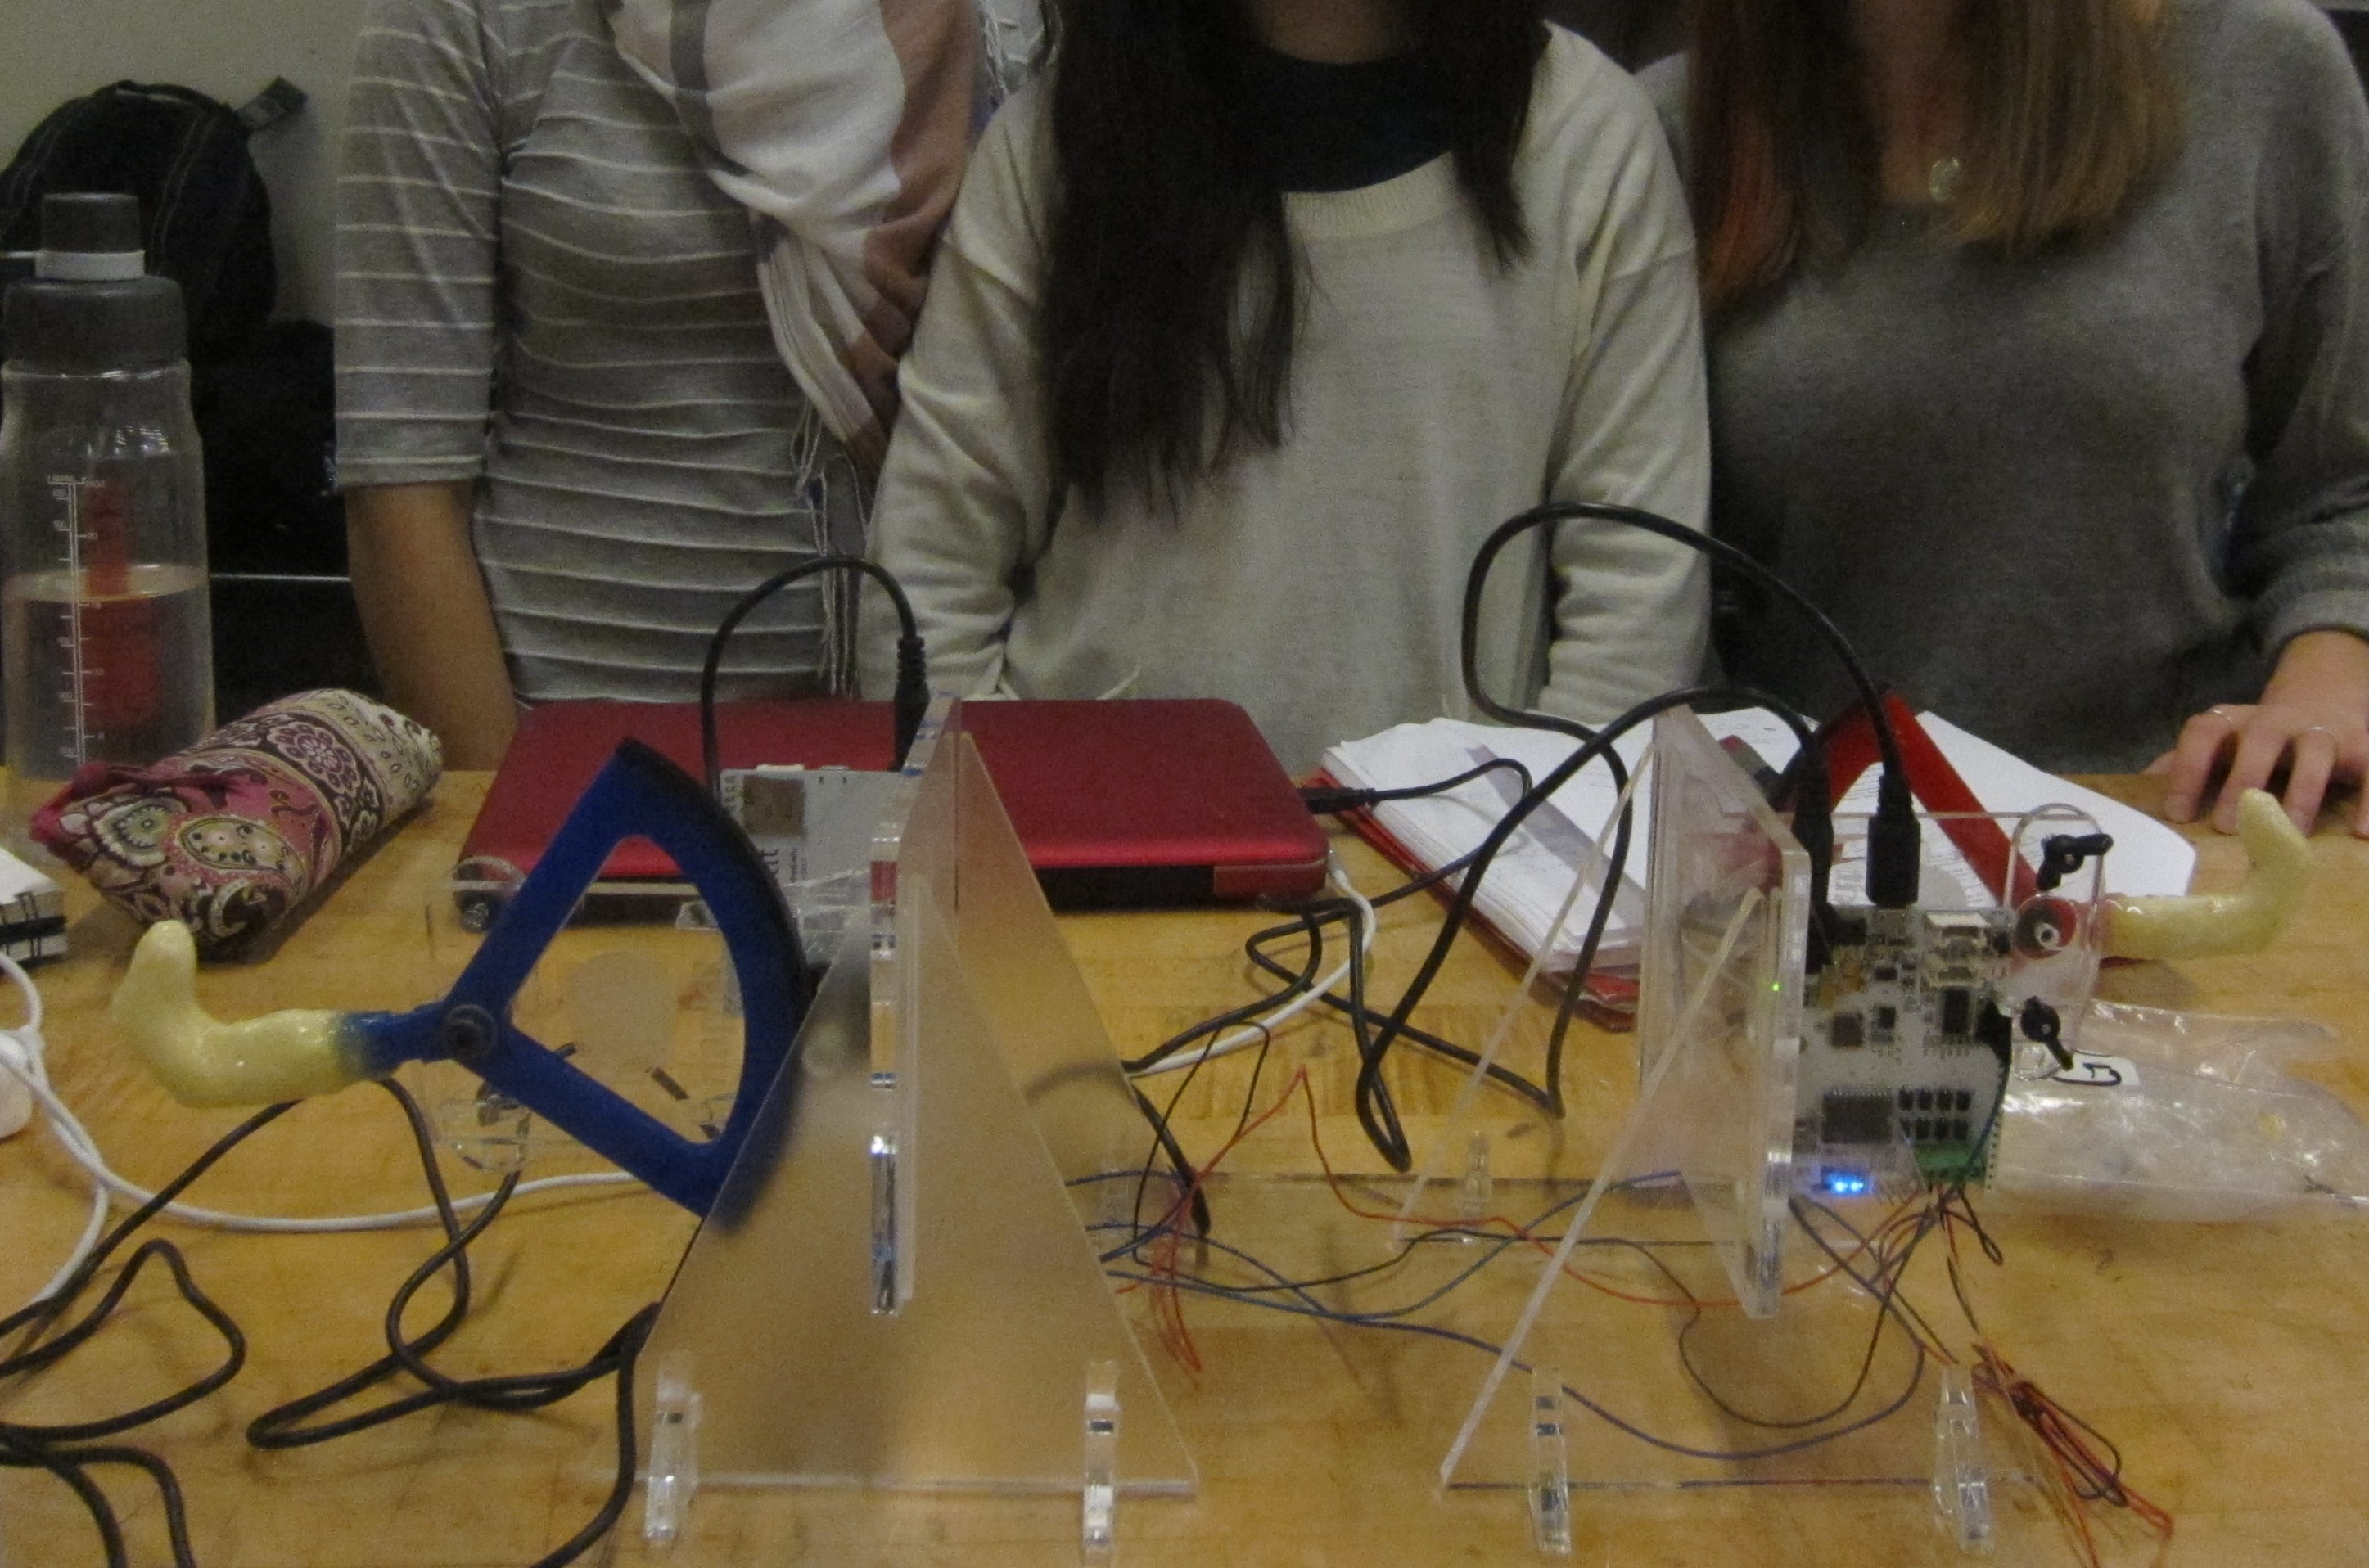
Generally, our hardware and construction was fairly straightforward. As you can see in the image, our hardware components consisted of a base, two hapkits (electronics and hardware), two pinkies made out of clay and then covered in hot glue, and some additional wires to connect the two devices. We wanted to have the two hapkits be oriented on their sides, so we needed to create a base and support system. We thought the most practical and aesthetically appeasing way to do this was to have a structure similar to the hapkit where different pieces of acrylic would just snap into place and be supported by various triangles. We created the solid works files for both the base and the support triangles (attached below), converted them to illustrator files, and then cut them with the laser cutter and .25" acrylic. Next, we cut off the tips of the tip of the paddle to so that we could attach the pinkies. We made a mold of one of our pinkies with air-dry crayola clay, let the mold dry, and then filled them with clay to create the pinkies. To attach the pinkies to the haptic device, we used hot glue.
Software design
In order to create a teleoperator device in which one hapkit is controlled by the other, we had to connect the magnetoresistive sensor (MR sensor) of a "slave device" to the board of the "master device." The "slave" is referred to in the code as the "dumb" hapkit because it does not run any Arduino code -- it just sends a position signal to the master Hapkit board and receives motor power/commands from the master. (The slave Hapkit only needs power to power its MR sensor.) We connected the analog pin 2 (A2) of the slave device to analog pin 4 (A4) of the master device. A2 is used to read the MR sensor values of the master hapkit, and A4 does the same to read the MR sensor values from the slave hapkit. Then, once we defined the variables for these two pins, we programmed the hapkits to be able to sense the force of each other.
The coding involved setting the position tracking variables, the kinematics variables, and the force output variables for the master hapkit and "slave" hapkit to the same value. We entered calculations to find the position of the handle and the velocity of the handle. Then, after trial-and-error, we found the best spring constant (k) for the virtual environment to be 200. We set the damping coefficient (b) to be -0.01 to have a slight damping feel. To set the virtual damper to smooth the hapkit movement, we set the force to equal the negative value of this damping coefficient times the velocity. Then, we set the force of the "master hapkit" to equal the negative force of the "slave hapkit," so that when we move one pinky in one direction, the other hapkit, when positioned properly, will move in the same direction.
Functionality
In order for the device to work properly, you need two people to use it. Each person stands on opposite sides of the device, and grasps their pinky around the mold. As one person applies a force to their side, the other person should be able to feel it, and vice versa. When both people apply a force, it simulates the feeling of being able to feel the other person's pinky. In terms of purpose, there wouldn't be any real-world applications for our device, but it we were to take it to the next level, by making it work over the internet, we could be able to simulate world wide pinky promises or other gestures that could be important to certain interactions.
During the open house, a lot of people were very interested in our project and how it could be improved. While they thought the one-dimensional motion was cool, a lot of them suggested possible making the device two or three dimensional or being able to feel the "squeeze" force would be even cooler. In order to do this, however, we would need a lot more resources and would have to start from scratch.
Acknowledgments
We wanted to thank Allison, all the lovely people in Room 36, and all of our peers for their helpful ideas and guidance.
Files
- Attach:Base.zip : Solidworks File of Base
- Attach:Big_Triangle.zip : Solidworks File of Support Triangles
- Attach:Code.pdf : PDF of Full Code
Pinky-Promise in Action