

Tiger Jonathan Brad

Brad (left), Jonathan (middle), Tiger (right)
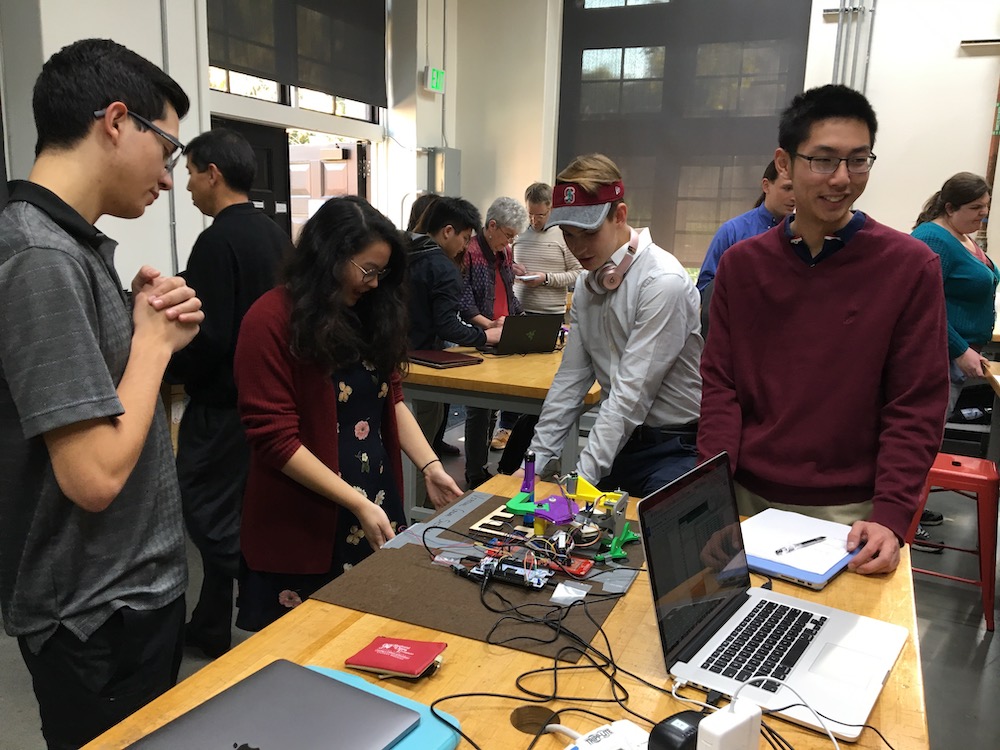
The squad holding the virtual gearbox and pedal
Virtual Gear Shifter
Project team member(s): Tiger, Jonathan, and Brad
Introduction & Project Summary
All three of us group members had an interest in manual transmissions, and thought it would be really interesting to simulate shifting gears using haptics. Our original goal was to have a gearbox and clutch pedal (driven by a motor), and possibly an additional pedal and a graphics program to show the RPM of the simulation as sort of reach goals. However, we ended up implementing the clutch pedal through the spring mechanism of binder clips, and did not have enough time to add in our reach goals. The idea is meant to give the user the experience of shifting gears, such as in a manual car. Once the clutch is pressed, the user has full range to move around the gearbox area. However, once the clutch is released, the user is snapped into either the socket or neutral zone where movement is limited, such as in an actual vehicle. Haptics are present in the clutch, with a force-sensitive resistor (FSR), and the gearbox mechanism, which utilizes the Haplink. Haptics are the right things to use since there are less moving parts than in an actual car: we don't actually have gears we need to shift so the chance of something going wrong is lessened.
Motivations
We were all very excited to undertake this project! Here are some of the reasons that we chose this project:
>Tiger: Growing up in an agricultural area in the South, many of my friends had manual transmissions that they drove around and I always wanted to try it out. However, I didn't really have the time to learn, and in the family, we used automatic vehicles, so it was difficult to try and figure out the manual transmission. I thought it'd be really interesting to try to simulate driving stick-shift, and the concepts of haptics seemed align really well with the idea.
>Brad: I learned to drive manual early on, because we inherited a '78 Volkswagen Beetle from my grandparents, which I eventually drove to school every day. I think driving a stick-shift is becoming a lost art as more cars transition to autmoatic, and dI would like to keep the skill alive in future generations. One of the biggest barriers, however, is that it is harder to learn stick than automatic. Our oncept for this device was to create a way to easily teach drivers the basics of driving a manual transmission.
>Jonathan: My motivation behind wanting to build this project was that I had always wanted to learn how to drive stick shift but never had anybody to teach me. My parents both know but since neither of them own a stick shift car, I never learned. I believe that driving a stick shift car is an essential skill for people to have since one never knows when it could come in handy, so I wanted to help create something that could possibly be a prototype for something that could be an effective learning tool.
Background
The idea of training new stick-shift drivers with haptic technology has been pursued before, such as Ford's Haptic Feedback Shift Knob, but these efforts have been more targeted at helping new drivers know when to shift while in the car. Our goal was to train new drivers before they even get behind the wheel. However, it would be interesting to combine the two ideas, adding vibration feedback to our device when it is time to shift gears. Our design relied heavily on the Haplink, as we used the Haplink hardware and the code for a virtual spring as our stick which moved between gears.
Design
Hardware design

The hardware for our "stick" was the Haplink, with a slight modification on the handle so that users could hold it like a stick shift. We laser-cut a gearbox with six positions and placed it within the workspace of the Haplink so that the handle could comfortably reach each position. To make the gearbox a little more authentic, we also engraved and rastered the numbers 1-6, much like an actual gearbox. We made sure to round the corners of the inner gearbox so that the Haplink would not get caught or stuck as well.
One unexpected difficulty we ran into concerning the gearbox was calibrating the positions of the Haplink and the gearbox. We had to make sure the Haplink's x and y axes were entirely lined up with the axes of the gearbox. If these weren't properly lined up, the math and software side would have been substantially harder as we'd have to code in sloped lines.

Our pedal was entirely our design; our biggest struggle was figuring out what to use to create the feel of a real clutch pedal. We originally planned to use a direct-drive motor at the pivot point of the pedal and code a "spring" effect, but we realized that we could simply use a real spring, or - specifically - a torsion-spring-loaded hinge. However, we had trouble finding one that fit our specifications, so we eventually discovered that a binder clip served the same purpose, and at exactly the angle we wanted! We ultimately used two large binder clips at the pivot point between two rectangles of wood. Using two binder clips increased the spring constant value to make it feel more like an actual pedal. The pedals haptic mechanism was a force-sensitive resistor (FSR) mounted on a small block of wood glued to the base. We glued half of a Nerf ball (which we found on the ground outside the Product Realization Lab) to the bottom of the top piece of wood, which pushed down on the FSR when stepped on. We designed the pedal to be the size of an average man's foot, so that it would feel comfortable for most users.
Software design
The first coding point was an if-statement: if FSR reading is less than 1000. The code within the brackets is only executed when the FSR is not pressed, which usually gives a reading of around 100-200 units. However, once the FSR is pressed, the reading is around 3,000, in which case the forces in both the x and y coordinate are each set to 0, and the user has free motion throughout the Haplink's gearbox area. To define the actual gearbox, we had seven physical areas that we coded in: the six sockets and the neutral zone.
The bulk of the coding utilized a "black-hole" technique. When the Haplink position was in the zone of a socket (the "if" statement), we coded a "black-hole" that would pull the Haplink to the center of the socket (the "then "statement). We defined the zone of the socket as a rectangle with strict x and y limits. The force in which the Haplink would be sucked in was proportional to the distance from the Haplink position to the socket center. In order to simulate locking into a socket, we added a "safe-zone" defined with as a circle with a very small radius to prevent the handle from constantly vibrating.
To define the neutral zone, we coded it similarly to the gear positions, defining it in terms of a < y < b but with no constraints on x. This way, the user was restricted from moving vertically into any of the gear positions, but could freely move horizontally, just as one can in a real manual car. Instead of a circular "black hole," we defined it along the x-axis, meaning the user was pulled with a force proportional to their distance from y = 0. In essence, it was a one dimensional 'black hole' defined on the y variable. Again, we defined a thin "safe zone" in the center so that there would not be too much vibration.
Functionality
The functionality of our project consisted on two main components: the modified Haplink that we used as the stick shift and the pedal we constructed that we used as the clutch. The project worked just as we expected it to: when the pedal was pressed down and the FSR was contacted, the user experienced free range across the shift box with all six gears. On the other hand, when the pedal was not pressed and the FSR was not activated, the user was locked into either one of the six gears or the neutral zone. When locked in the neutral zone, the shift stick was allowed to travel the whole (horizontal) length of the neutral zone. We deliberately did this as this is how it is in real cars since sometimes the 6th slot is reserved for reverse and needs to be easily accessible whenever it is needed.
Although we did code the positioning of the shift box, we also cut out an outline to help with the visual experience and make it more realistic. This cut out also helped with understanding how there is a threshold for each gear slot and once it is crossed, the transmission pushes you into the slot if the clutch is released. Similarly, if one did not reach the threshold and the clutch was released, the Haplink, like a transmission, shot you into the neutral zone. It was good to have the outline also because the Haplink had a small amount of error occasionally in going through a straight line, and the outline kept the Haplink in generally the correct position.
There were many ways we could have added improvements to the project. If we had more time to work with graphics, we could have implemented a visual RPM monitor that would signify to people when to shift, or a video which visual cues of when to shift (such as stop signs, traffic lights, freeway exits). We also could have added an additional pedal for braking or gas, which would make the experience more realistic. However, as a group, we were very proud of the functionality of our project, and everything worked exactly the way we had planned it out.
Open House
The open house experience went well! It was exciting to see so many people try our project, and many people appeared interested in how we linked haptics and stick-shift driving. One gentleman made an interesting comment about training long distance truck drivers: the turnover rate is so high that often times, training is a huge problem, especially since these trucks are manual and very difficult to drive. He mentioned that if this project were developed more, it could really serve a use in the trucking industry in helping employees train for the job.
Though we didn't have the graphical cues that we had reached for, we were still able to implement a storyboard through creativity and sound effects. We offered many interested viewers a demo, where we would have one person tell a story, while Brad made revving noises to simulate the sound of the engine, which helped the user tell when to shift up or down. For example, a storyboard could be anything from a late night trip to Chick-Fil-A or a frenzied drive to the airport. It was a great deal of fun and a really enjoyable experience!

-

Presenting to curious visitors
-

Showing Kaitlyn and Allison our project!

Storyboard captured in action: Late night Chick-Fil-A trip!

Group picture after presentations!
Acknowledgments
We would like to acknowledge Allison Okamura, Kaitlyn Gee, Tyler Cloyd, and Melisa Orta for all their help with preparing, constructing, and presenting this project. From the lectures that taught us about creating virtual walls to helping us find the right size binder clip, these amazing people were there for us the whole time and we could not have done it without them.
We would also like to acknowledge Matthew Molina, a very helpful TA in the PRL that helped us build our pedal from the ground up. Matthew went out of his way to find us free materials to use and was very patient in teaching us how to use the machinery.
Files
- File 1: Programs for the device - this zip file contains the file of all the programs we used in our project: Attach:gearshift_programs.zip
- File 2: Adobe Illustrator file - we used this file to create and laser-cut the gearbox: Attach:Gearbox.ai
- File 3: Components and costs - A list of the major components and approximate costs: Attach:cost_sheet.xls