

Group 21
Haptic Simulation of Cutting Foods
Project Team Members: Dylan Johns, Nicole Salz, Gaby Uribe
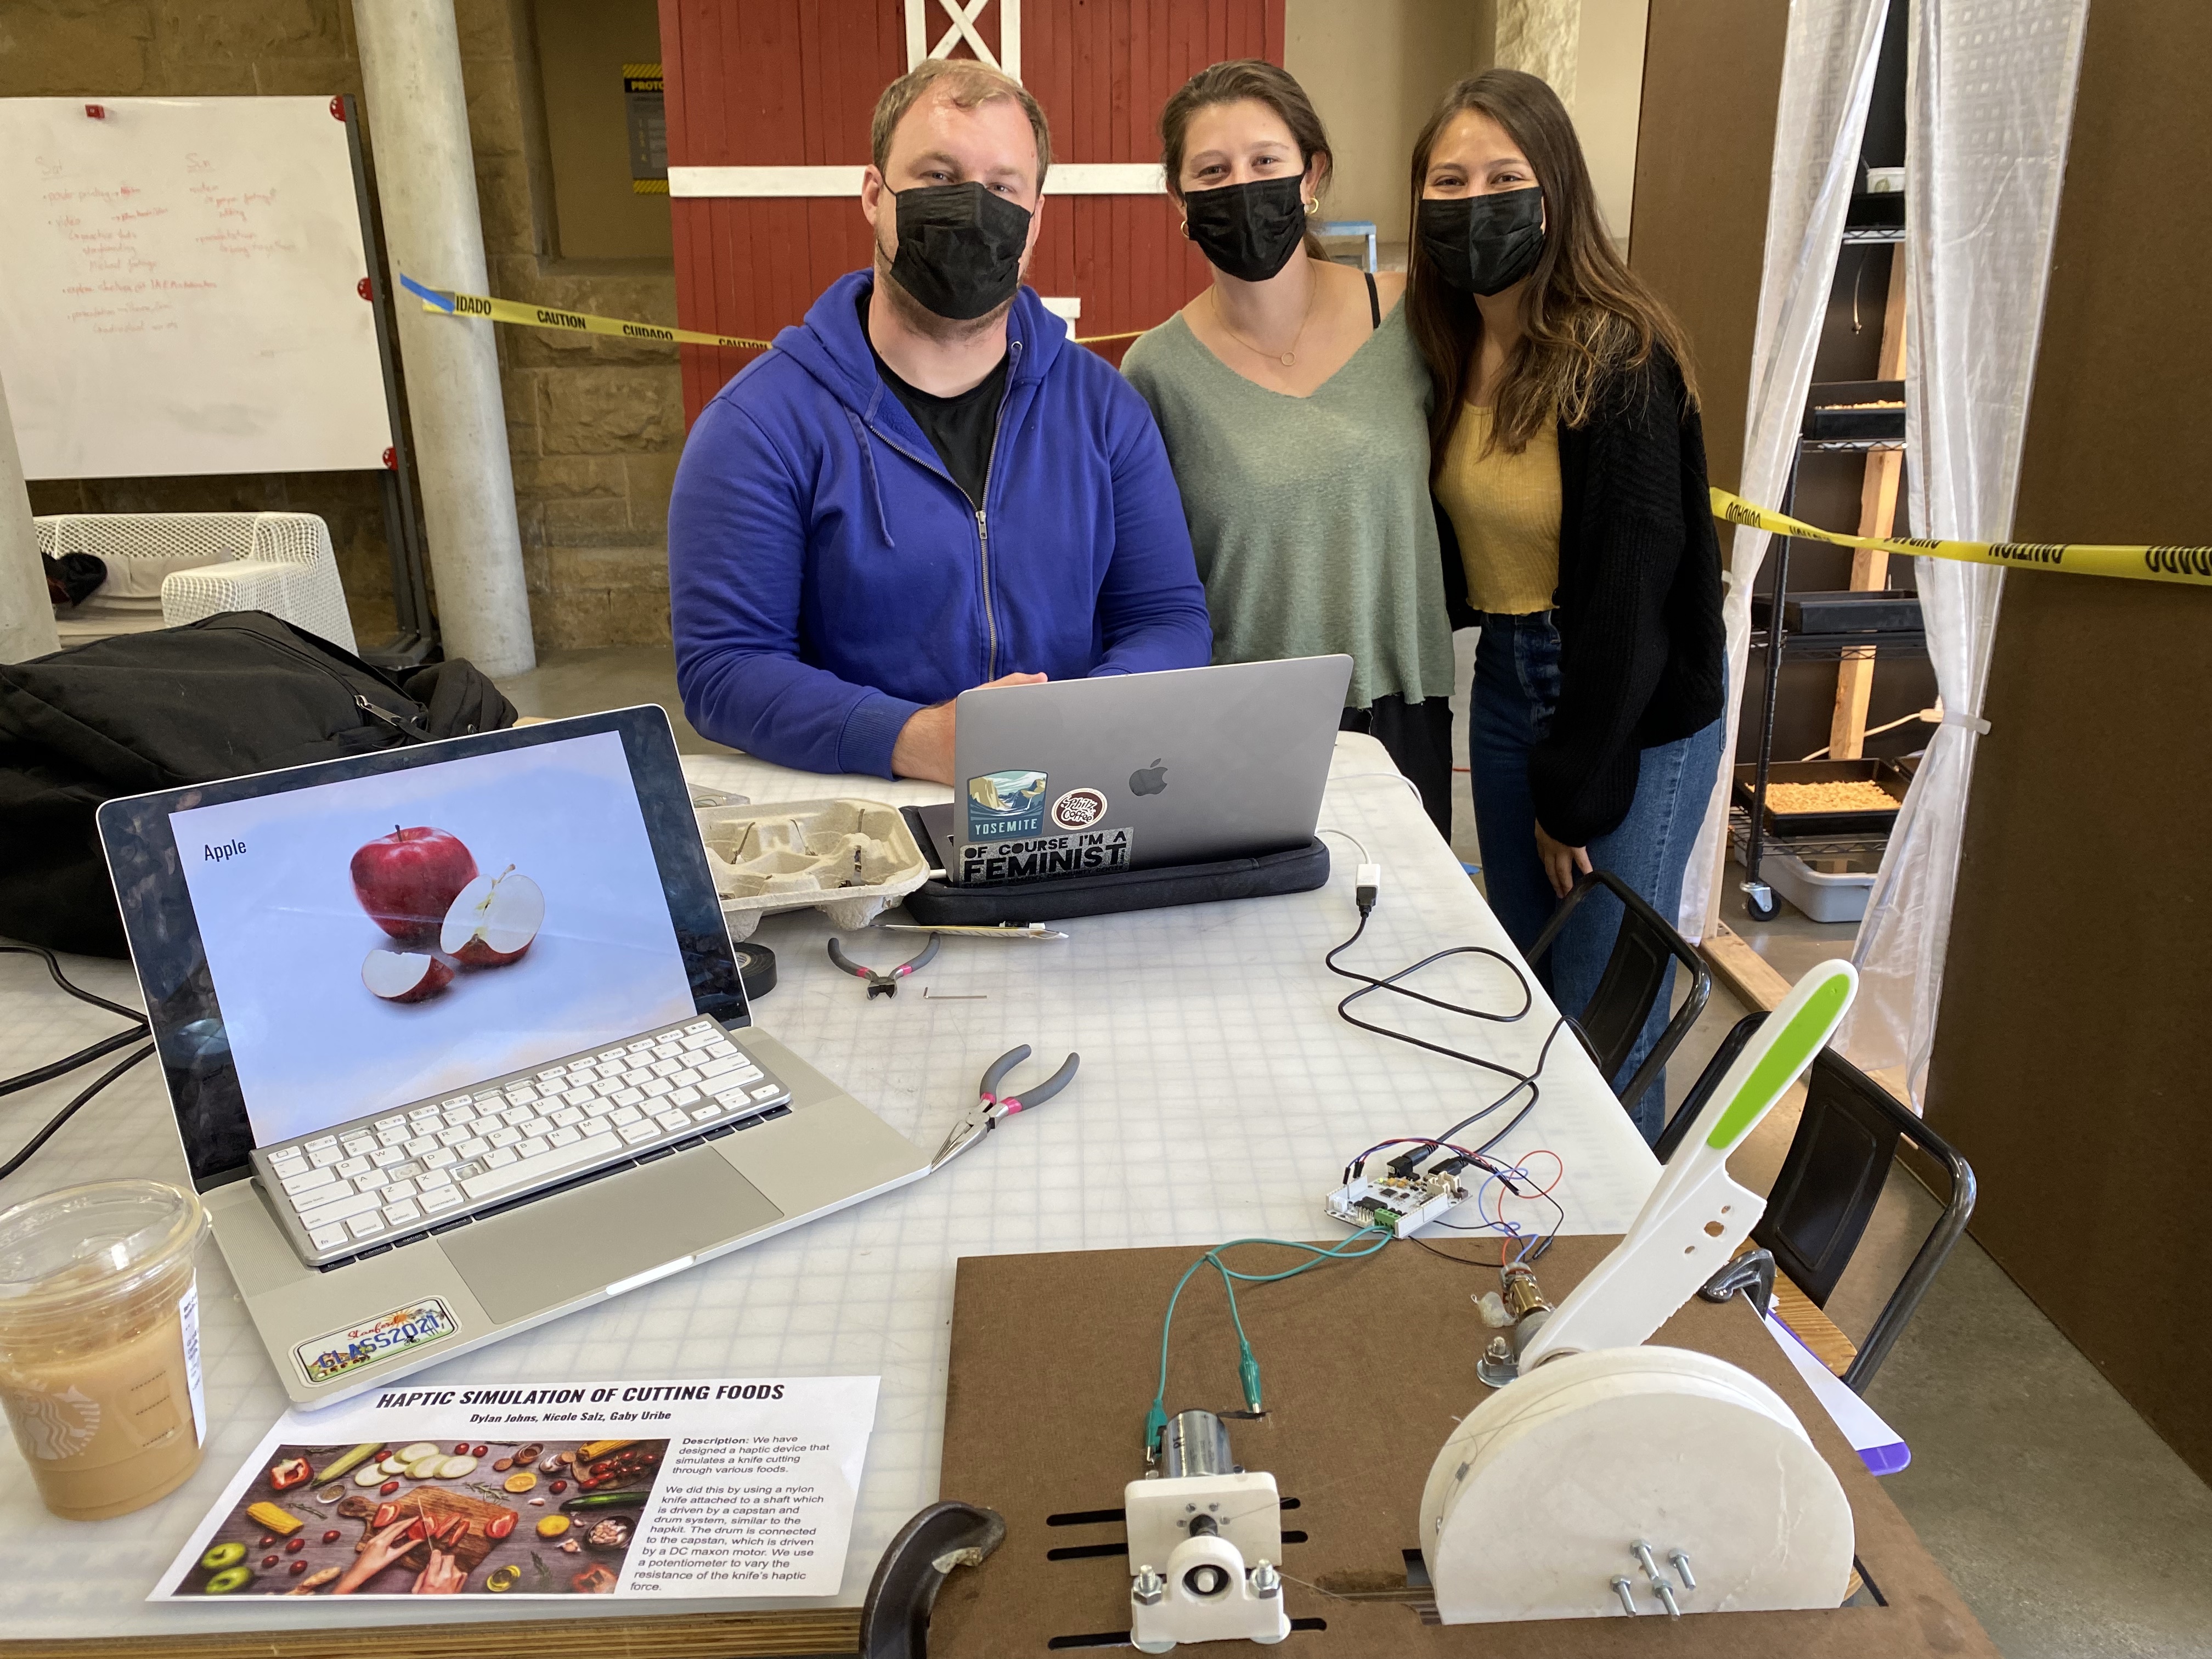
Group 21 with their Haptic Knife
We sought out to develop a haptic knife system that simulates the feeling of cutting through various foods. The potential applications for this concept are vast, from being used for knife-skill practice or being implemented in a VR cooking game. Either way, we thought it would be really interesting to see if we could replicate the force profiles of cutting through different foods. Through the use of a potentiometer, a motor, a capstan drive, additional hardware, and Arduino code, we were able to create a haptic knife that simulates cutting an apple, an avocado, and a marshmallow.
On this page... (hide)
Introduction
The process of cutting objects involves many engineering properties that are of interest. These can include several types of nonlinearities, such as large deformations, contact, crack, and propagation. To determine how these nonlinearities transfer to a haptic system, we chose to design a haptic device that simulates a knife cutting through various foods. Since this system has 1-degree of freedom and we already have experience with this from our previous work rendering various forces with position-sensing, we think this idea is a realistic scope for a two-week project. We thought it would be interesting to see how realistic we can make a device that simulates cutting through specific foods.
Background
There is relevant prior work related to the idea of haptic cutting not only in the field of food, but also in the field of medicine. For example, researchers have looked into making realistic cutting simulations to help train medical students to cut through skin for operations [1]. They were able to develop a rather sophisticated system that involved discretization of the skin, finite element formation, a geometric solver, and a haptic rendering algorithm. Additionally, Stanford researchers developed a teleoperated system to more accurately take in-bore liver biopsies [2]. The force profile of puncturing the skin and having a dampening medium for the needle to move through is similar to what happens when a knife punctures the skin of a food and continues move through it.
A paper that focuses more on general cutting properties of cutting was written by researchers from McGill University [3]. They proposed a computational model that simplifies cutting to three interactions (deformation, rupture, and cutting) and can be applicable for haptic rendering. Finally, a more food-focused piece of work tried to learn about the different physical properties of food in order to develop an algorithm for robots to manipulate deformable food objects [4]. They obtained haptic data for 12 different categories of foods and used experimentation to determine the following physical properties for each category: hardness, plasticity, elasticity, tensile strength, brittleness, and adhesiveness.
Methods
Hardware design and implementation
Once we set out on an idea for our project, we began brainstorming how to implement our hardware into one system. We wanted to create a realistic environment for our user so the device is designed as a table top cutting board. The board was made of 1/4'' duron to mimic a classical wooden cutting board. We drew ideas from the capstan drive and drum system in our hapkits and created a system around these components. However, we wanted to use position sensin as opposed to magnetic so we decided to use a 10KOhm Potnetiometer to determine the poition of the knife through resistance readings. We use a long steel shaft, which is driven by a capstan and drum system. We used a circular flange that fits onto the steel rod to fasten our nylon knife to the rod. We created two sets of holes in order to have versatility of the knife placement. The drum is connected to the capstan and is driven by an AC electric motor. A potentiometer is attached to the steel rod with a motor coupler and is used for position sensing of the knife. The final CAD of our full system is shown in the image below.
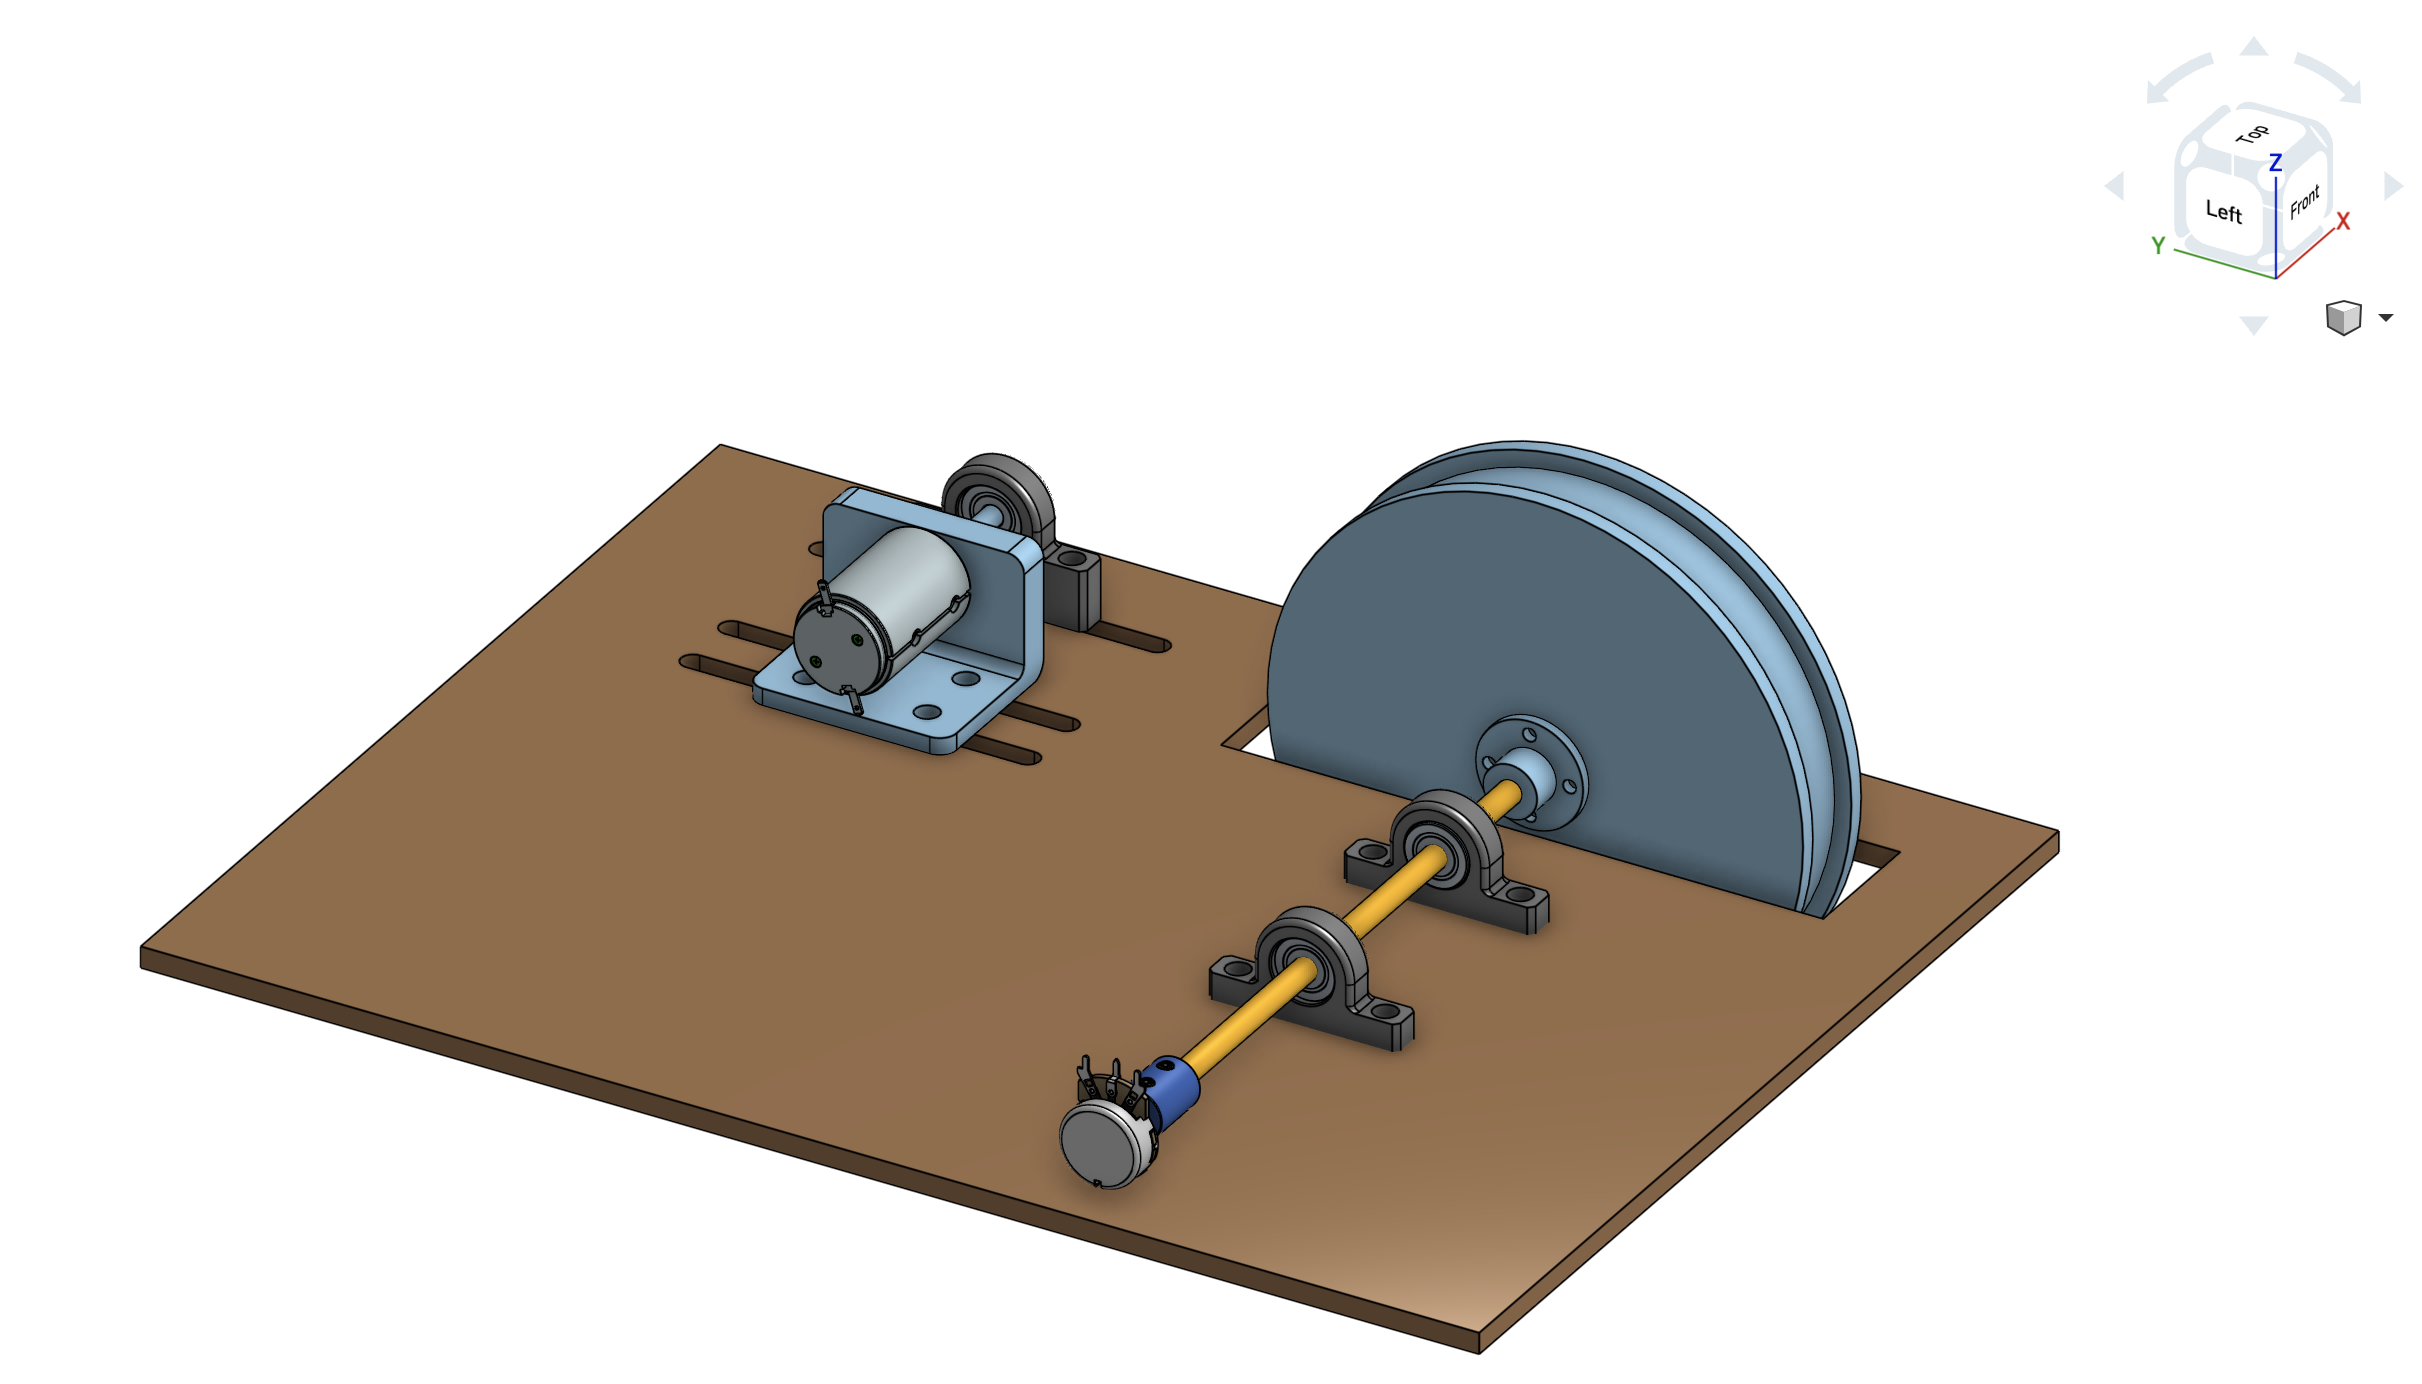
Figure 1: Final CAD Assembly
Most of the components were created to be as small as possible in order to make our device relatively portable. However, we did have to calculate the necessary radii ratio of our knife hinge and drum. We performed a static analysis of the forces from the drum and the hinge on the knife. We assumed a maximum force of 3N was needed to create our desired affect on the knife. These calculations can be found in our appendix and drove the dimensions of our drum radius as well our steel rod and flange.
Most of the components for our device were ordered, except for the drum, capstan, duron base, one of the bearing houses, and the cable. All of these components were made in OnShape by ur team and 3D prtined or laser cut. A full list of our bill of materials can be found in the image below. It includes all 13 main components we used to assemble our device.

Figure 2: Bill of Materials
The mechatronics of our system was relatively simple as we only needed connections to our maxon motor, potentiometer and arduino.

Figure 2: Circuit Schematic
System analysis and control
The simulation was implemented by use of a moving haptic wall. This wall can be "dragged" as the knife cuts through the simulated material, and passes through three regions. These regions are the "crust" region, the "flesh" region, and the "brittle" region. When the knife position gets far enough into the haptic wall (called the elastic limit), it then updates the wall's position to the new elastic limit. In the crust region we simulate a harder exterior, and so our force output is maximized. After passing through the crust though, the interior of the item should be softer, so we proportionally reduce the force output by a given factor. And finally once the knife reaches the brittle region, the structure of the item fails, and all resistance ceases.

Now there is some nuance in tuning the above parameters. If (for example) we wanted to cut an item that does not have a distinct crust (or at least does not have one that gives significantly different resistance), we could implement this in two ways. We could either drop our crust thickness to zero, or we could set our crust-flesh proportionality constant to 1. In either case there would be no perceivable crust to the user. Likewise we can simulate non brittle items by reducing the brittle region to nearly zero, or can simulate very difficult to cut objects buy having a large elastic limit.
Demonstration
To demonstrate our device, we used two clamps to hold our cutting board to a table in place while the large drum hung over the edge of the table. We had users test three different food profiles; an avocado, an apple, and a marshmallow. The users were told which food they would be cutting along with an image of the food to increase the perceived realism. Users held onto the handle of the knife and they were able to cut as many times as they wanted with each food. A video of our demonstration can be found below.
Results
As mentioned above, in order to test our device on other users, we clamped our duron cutting board to a table with the drum (which hangs below the board) handing off the edge of the table. In order to increase the perceived realism of the device, we included images of the different foods we were testing. Users were told which food they would be cutting prior to attempting the cut. We created three different food profiles for users test: an avocado, an apple, and a marshmallow. These three food were chosen to their differing mechanical properties. The avocado included a thicker crust that then became smooth as the user broke through the crust wall. The apple had a higher force and a satisfying snap at the end to illustrate the final cut. The marshmallow was much more elastic and sprung as the user attempted to cut through it.
Overall, users felt they could distinguish between the different foods! Most users claimed the marshmallow felt the most realistic due to its significant differing properties and the elasticity that was felt at the end of the cut that pushed the knife back upwards.
However, almost all users claimed that the apple was the most satisfying food to cut as they could very intensely feel the snap of the cut. While the properties of the apple itself may not have been the most realistic, the "snap" at the end was the defining feature for the apple. Certain users said the lack of haptic feedback when moving the knife back up to its initial position caused lowered the perceived reality of the simulation.
Additionally, we had some users test our system "blindfolded". They did not hear or see anything about the food they were cutting and they had to identify the food simply based on the haptic feedback. While this was a more biased test since this was only completed after the initial testing (so users already had an understanding of what the haptic feedback was supposed to feel like for each food), users could very clearly identify the different foods. Remarkably, they were often able to decipher the food within the first second of cutting and didn't even have to finish the cut.
Future Work
While our project succeeded in the goal we had set out to create a realistic simulation of a knife cutting through various foods, there are many future steps that could increase the performance of our system. We were able to test our device on a handful of users and receive feedback on the perceived realism of the device. However, most of these users were mechanical engineering students with a strong background in haptics. We would like to further test our device on subject who are less aware of haptic devices. Additionally, we would like to perform more blind testing of our users, meaning they would have to identify the food solely based on haptic feedback.
For our mechanical system, future work would involve replacing certain components with more robust ones. The maxon mechanical motor we used was not outputting it's desired maximum force and thus limited what kind of foods (and thus what forces) to simulate. Additionally, we would replaced our capstan with one of a stronger material as the PLA printed plastic broke a couple of times during our assembly.
In term of improving our software, we would want to better tune some of our parameters. Given the nature of our project and the time we had, we focused mainly on the mechanical structure of our device as it was somewhat complex and made completely from scratch. Future work would likely be devoted to better tunning the parameter of brittleness, hardness and elasticity. Additionally, we hope to create even more food profiles for testing that have different physical properties than the three that we used. Furthermore, we would also like to create a haptic experience of the knife as it moves back up through the fruit (before a second or third cut). This would increase the perceived realism of actually cutting through food as the user would constantly feel haptic feedback from knife.
Files
Major Components and Costs Spreadsheet
References
[1] Wu J, Westermann R, Dick C. Real-time haptic cutting of high-resolution soft tissues. Stud Health Technol Inform. 2014;196:469-75. PMID: 24732558.(https://pubmed.ncbi.nlm.nih.gov/24732558/)
[2] Frishman S, Kight A, Pirozzi I, Coffey MC, Daniel BL, Cutkosky MR. Enabling In-Bore MRI-Guided Biopsies With Force Feedback. IEEE Trans Haptics. 2020 Jan-Mar;13(1):159-166. doi: 10.1109/TOH.2020.2967375. Epub 2020 Jan 16. PMID: 31976906. (https://ieeexplore.ieee.org/document/8961168)
[3] M. Mahvash and V. Hayward. �Haptic Rendering of Cutting: A Fracture Mechanics Approach,� Haptics-e: The Electronic J. of Haptics Research. Vol. 2. No. 3. 21, Nov. 2001 (https://www.researchgate.net/publication/230554885_Haptic_Rendering_of_Cutting_A_Fracture_Mechanics_Approach/link/566eb13608ae430ab500325b/download)
[4] M. C. Gemici and A. Saxena, "Learning haptic representation for manipulating deformable food objects," 2014 IEEE/RSJ International Conference on Intelligent Robots and Systems, 2014, pp. 638-645, doi: 10.1109/IROS.2014.6942626. (https://cs.stanford.edu/people/asaxena/papers/gemici_saxena_learninghapticrepresentation_fooditems_2014.pdf)
Appendix: Project Checkpoints
Checkpoint 1
For this checkpoint, we focused on finalizing the design of our entire system and ordered all the necessary components to begin assembly. Below you can see the full CAD of our system.
Sketch of Full System:

CAD of Full System

In order to get to this point, we had to determine what materials, along with their dimensions, we would need to complete our system, we performed a static analysis of the forces from the drum and the hinge on the knife. We assumed a maximum force of 3 N was needed to create our desired affect on the knife. These calculations can be found below.

Now that we have the ratio of our radii for the drum and the hinge, we can proceed with ordering the correct sized ball bearings for the hinge and deign on our drum to the desired size. The following is a list of our bill of materials of all the components we have either ordered or 3D printed/ laser cut component we have designed.

The following is the CAD for our drum and base respectively.


Checkpoint 2
For this checkpoint, we focused on assembling a functioning prototype and including code for our system to test basic functionality. Our first step was modifying our assembly from last week. After we received all of our materials, we realized our initial design needed changing. We added additional holes to our base to secure our components and we also changed certain dimensions in order to better fit everything onto our base. These changes can be seen below in the image of our full system CAD.
Additionally, we decided to use a stronger motor (a maxon motor from lab) for the motor that attaches to the capstan and drives the drum from the cable. As a result, we had to create our own motor mounts to attach the maxon motor to the board. This can be seen in our full system CAD and in the zoomed-in image below.

We also determined how we would attach our knife to the system as we were initially having difficulty with a cantilever deflection from the knife in its orientation. We instead decided to use another circular flange that fits onto the steel rod and drill holes into our nylon knife and attach these two components with fasteners. We created two sets of holes in order to have versatility of the knife placement.

Lastly, we began coding our system in Arduino. We started with just a very simple haptic wall on the knife to test the functionality. Now that we have tested the basic functionality of or system, we will now focus refining our code to include different types of foods which includes tuning parameters like hardness, elasticity, and brittleness.
With all of these updates to our system, we now have a working prototype which can be seen below!
